> For the complete documentation index, see [llms.txt](https://wiki.beabee.io/help-center-english/llms.txt). Markdown versions of documentation pages are available by appending `.md` to page URLs; this page is available as [Markdown](https://wiki.beabee.io/help-center-english/onboarding-guide/customise-beabee/organisational-settings/standard-emails.md).
# Standard Emails
Beabee automatically sends standard emails for various events – for example, when a contact signs up for your community, makes a payment for a post, or participates in your CrowdNewsroom. Pre-made email templates are available for most of these events. You can enable, customize, or disable them. In this guide, we’ll show you step by step where to find the email templates and how to use them.
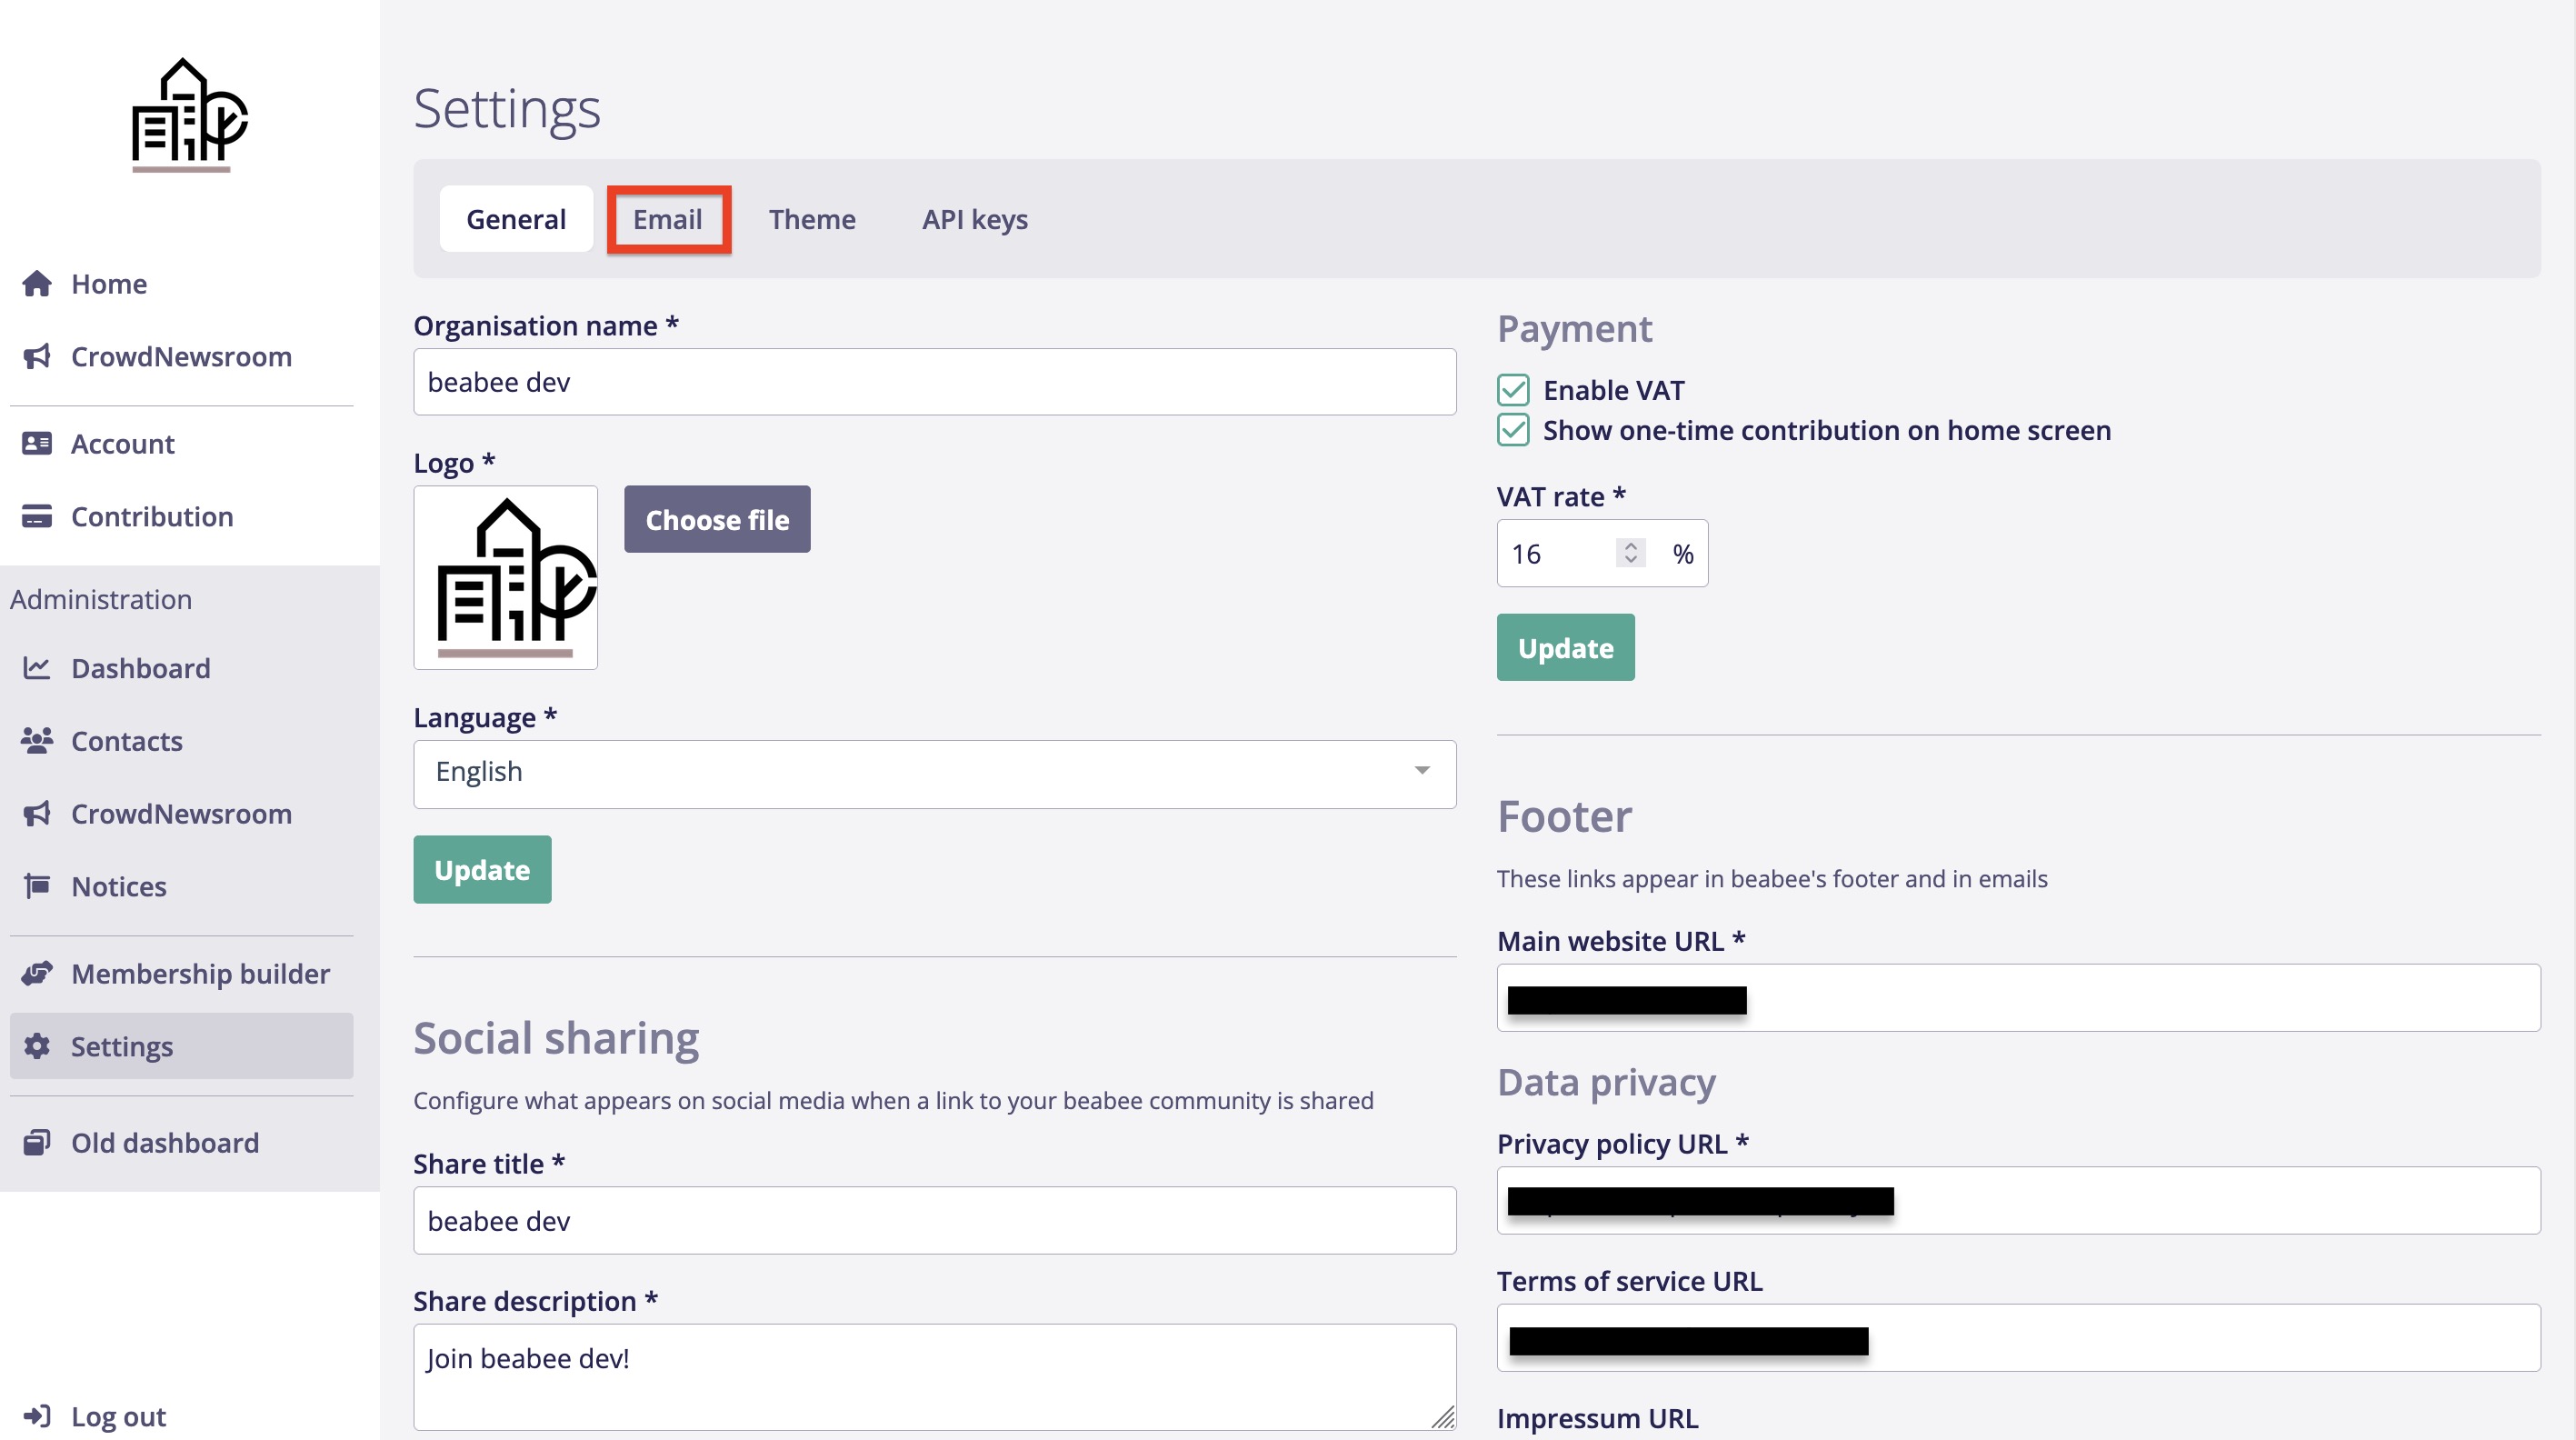
1. Log in to your beabee instance and click on *Settings* on the left.
2. Once you’re in the settings, click on the *Email* tab at the top.
3. Here you’ll find email templates for all possible use cases. In the *Description* column, you can see the exact purpose of each email, so you can decide whether you need the corresponding template.
4. The *Status* column shows whether the corresponding email is currently active, has been customized by you, or is not activated.
5. Below the list, you can set your default support address. All emails from your beabee instance will be sent from this address. Your domain is used automatically, so you can only customize the first part of the email address.
{% hint style="warning" %}
Important: For members to be able to contact you via this email address, it must be set up in your hosting and actually exist.
{% endhint %}
6. Done! Once you’ve entered your desired email address and a name, simply click on *Update*.
{% hint style="info" %}
[Here’s](/help-center-english/onboarding-guide/customise-beabee/organisational-settings/standard-emails/customize-standard-emails.md) how to customize the standard emails. To deactivate specific emails, follow [these](/help-center-english/onboarding-guide/customise-beabee/organisational-settings/standard-emails/activate-or-deactivate-standard-emails.md) steps.
{% endhint %}